This website contains affiliate links. As an Amazon affiliate, I earn from qualifying purchases (What’s This?).
The other afternoon, with a big mug of homemade Thai green tea in one hand and a random burst of energy in the other, I decided the walls in my living room needed… something.
You know that feeling when a space is almost there but just feels a little empty?
Yeah, that was me.
Instead of hopping online and spiraling into a $300 “art print” rabbit hole (been there), I rummaged through my craft stash and spotted a leftover canvas and a roll of masking tape. Ten minutes later, I was knee-deep in paint swatches and dreaming up the easiest DIY wall art project ever.
Honestly? It turned out way cuter than I expected.
And it instantly made the room feel brighter — like a little creative wink every time I walk by.
So if you’ve got a blank wall staring at you too, here’s exactly how you can make your own masking tape canvas art. No art degree (or perfection) required.
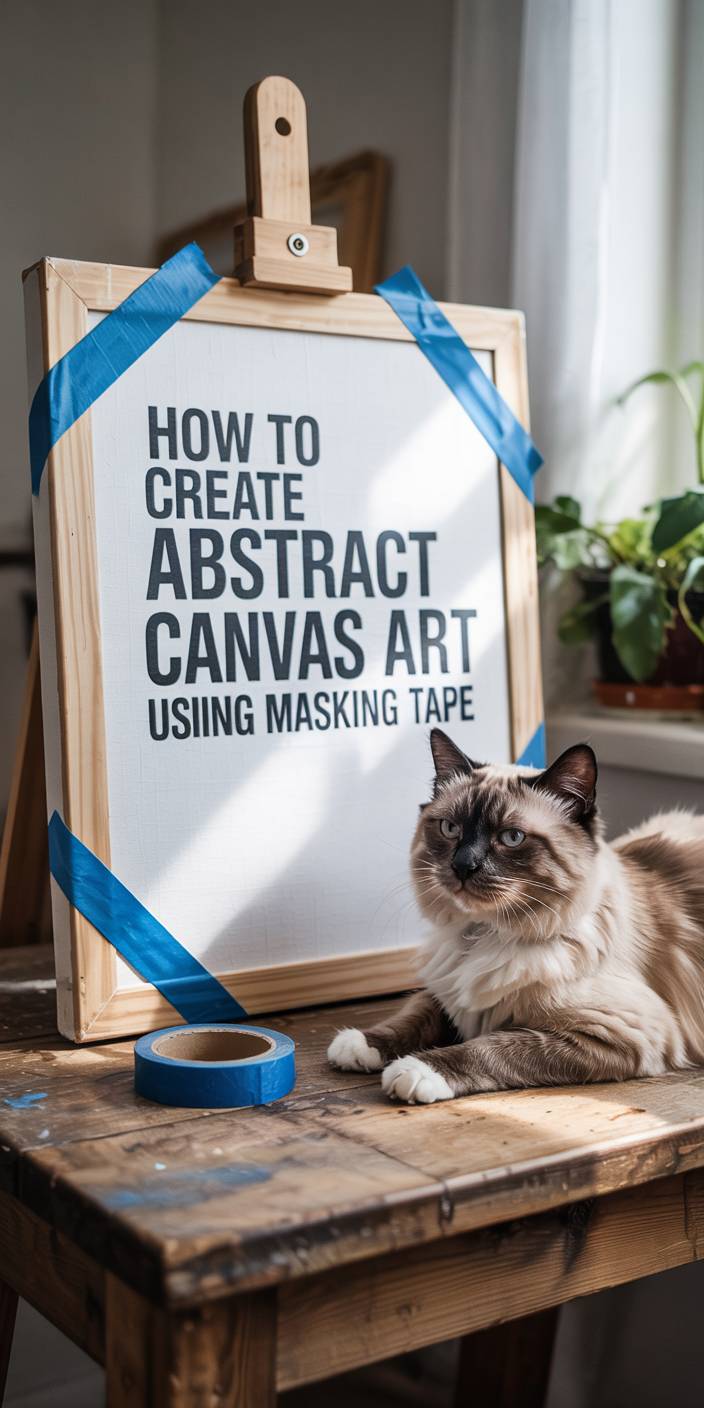
What You’ll Need

Here’s what I grabbed from my stash:
| Item | Notes |
|---|---|
| Blank canvas | Any size you like — mine was 16×20 inches. |
| Masking tape | I used blue painter’s tape, but washi tape would be adorable too. |
| Acrylic paints | Pick 2–4 colors that make you smile. I went with soft blush, olive green, and a creamy white. |
| Brushes | A mix of big and small ones works best. |
| Scissors | For trimming neat tape lines. |
| Varnish (optional) | If you want that glossy “art gallery” look. |
How to Create Your Masking Tape Masterpiece
Alright, grab your supplies and cue up your favorite playlist. Here’s how I created my DIY abstract canvas art step-by-step.
1. Lay Out Your Canvas
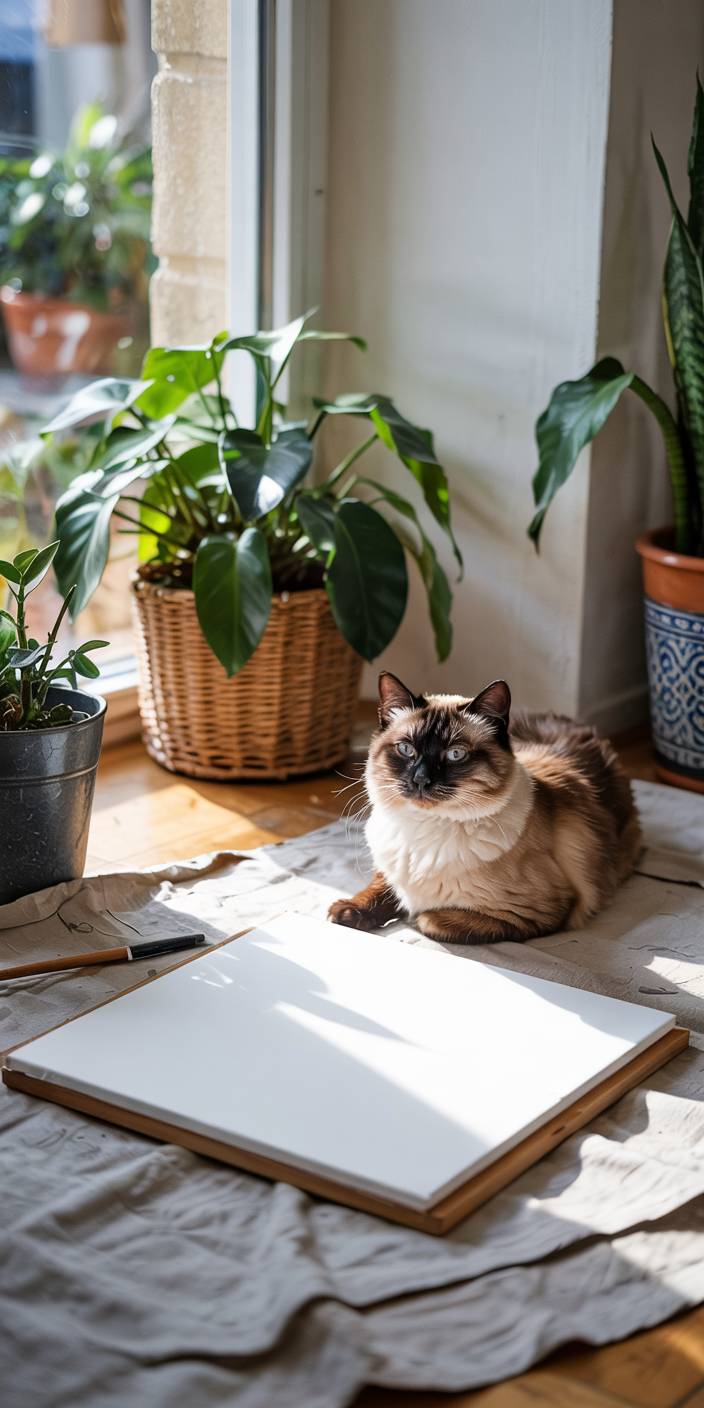
Before you even think about taping, take a minute to really lay out your canvas — like you’re setting the table for a creative dinner party.
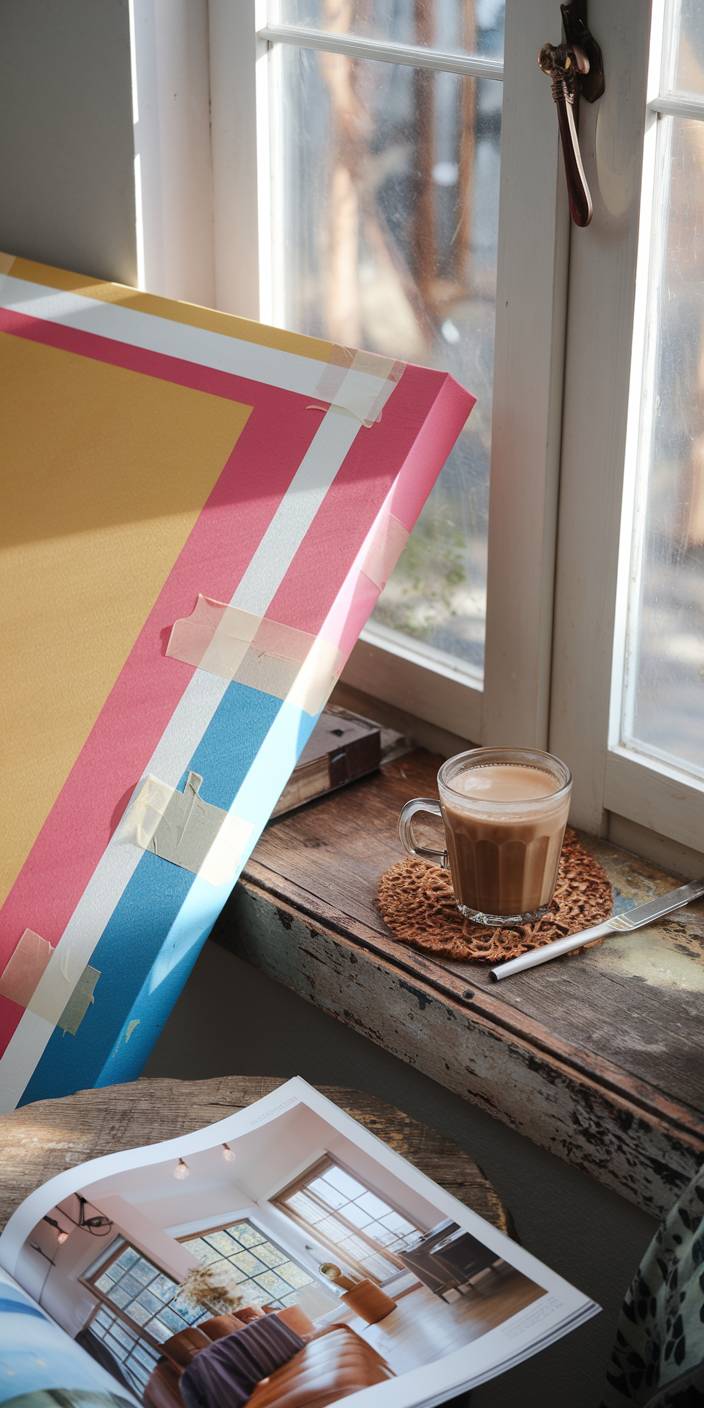
I cleared a spot by the sunny window (where afternoon light spills in like warm honey) and spread an old sheet under my blank canvas to catch any rogue splatters.
Then came the fun part: playing with the tape like it was a puzzle. Crisscrossing strips, stepping back, tilting my head, moving one piece half an inch to the left… No rush. No rules. Just good vibes.
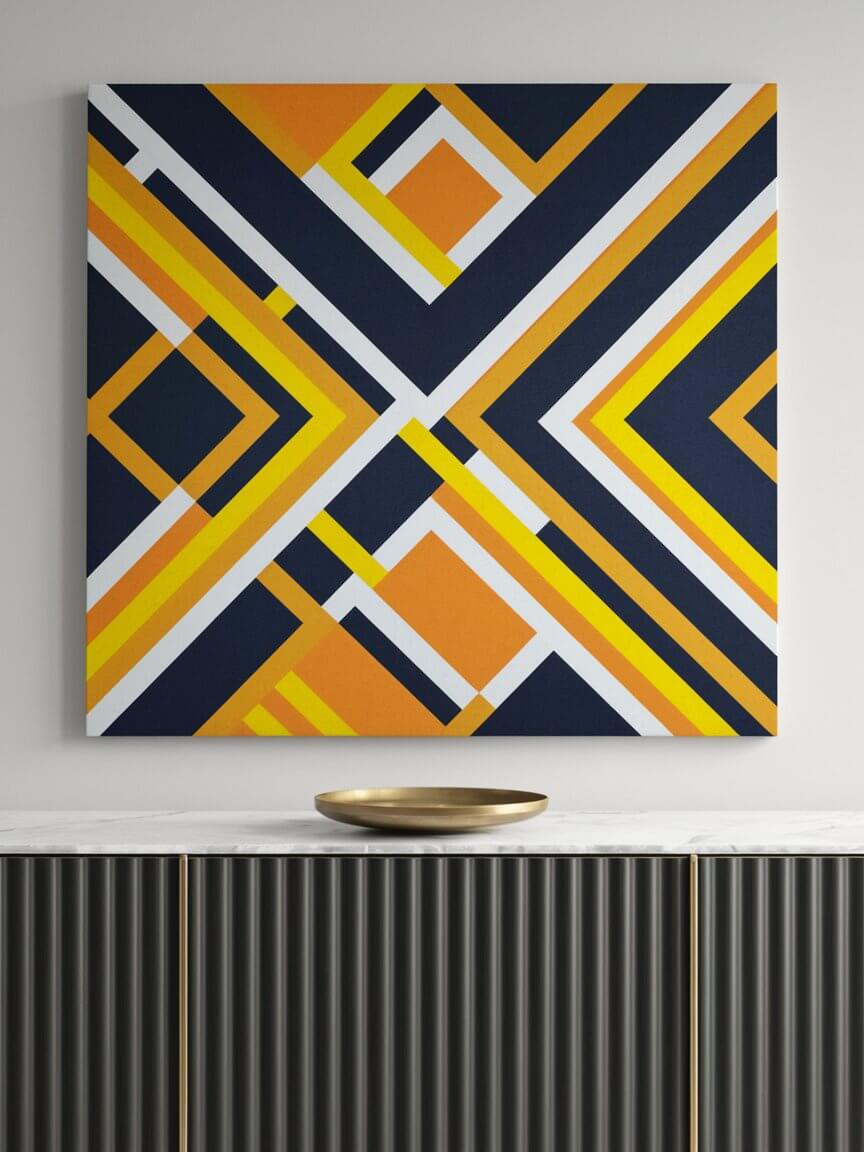
If you want your DIY masking tape painting to feel fresh and modern, go for clean, bold angles. If you’re feeling dreamy? Let the tape wander softly across the canvas. I stuck with bold diagonal lines this time — think lazy tic-tac-toe energy.
Helpful mini-tips:
- ✓ Press the tape down firmly (I used an old gift card to “frost” it smooth).
- ✓ Leave some breathing space between tape lines for a lighter look.
- ✓ Stick with 3–4 tape strips max for your first try — you can layer later!
By the time I finished, the table was a happy mess of tape rolls, paint jars, and sunshine splashes. It already felt like a tiny art studio.
2. Tape Your Design

Here’s where your DIY masking tape art starts to come alive!
I started laying bigger tape lines first — wide strips from corner to corner — then layered smaller shapes around them. It’s way less overwhelming when you build it like a collage.
A few tricks that helped:
- ✓ Let some lines run right off the edge of your canvas for that “bigger than life” vibe.
- ✓ Don’t overthink spacing — chunky areas next to delicate ones make it feel lively.
- ✓ If you don’t love where a piece lands? Peel it off and redo it. Free therapy!
Tip: Stand above your canvas and look down from a step stool. It helps you catch the whole vibe before you commit.
3. Start Painting Your Masking Tape Canvas
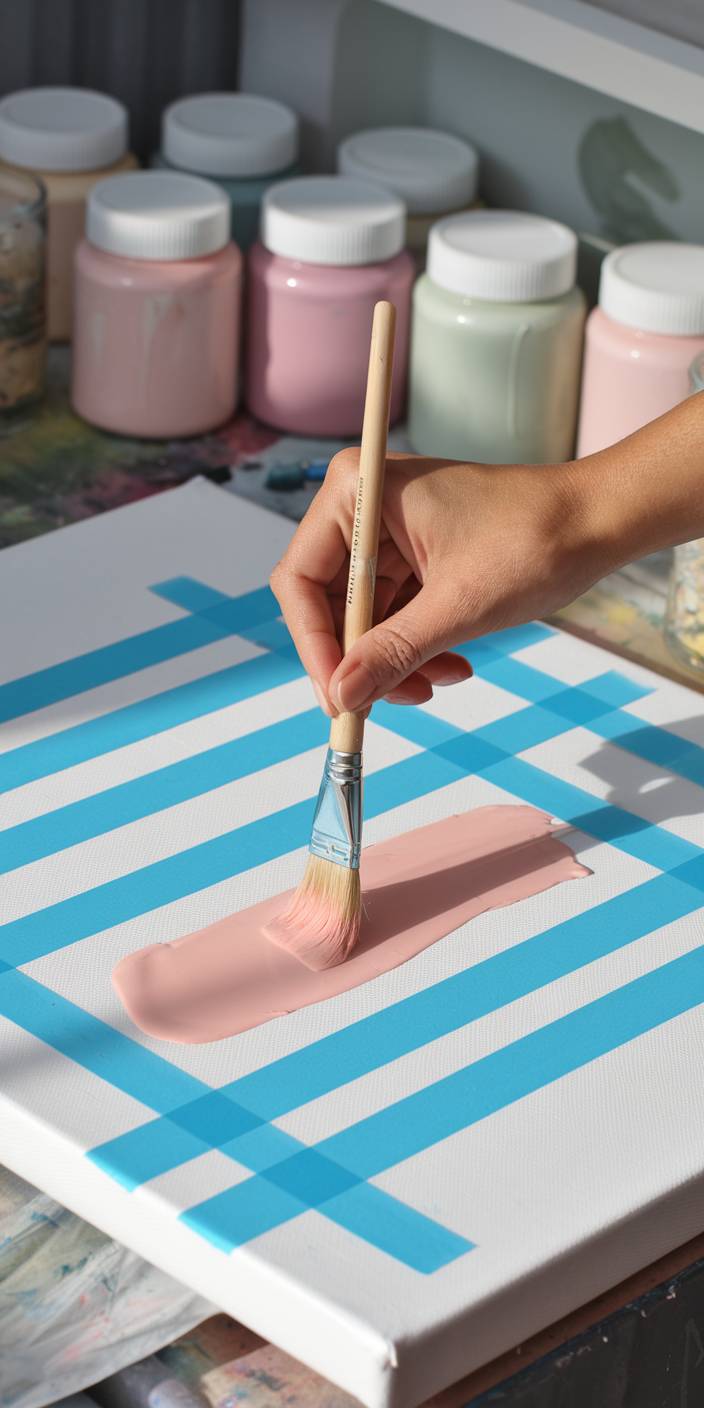
Now for the part that feels like coloring outside the lines — but better.
I grabbed my fluffy brush, chose the soft blush pink first (of course), and filled in a few big spaces. No rigid plan. Just moving from color to color like a cozy little dance.
What made it easier:
- ✓ One color at a time — no hopping all over.
- ✓ Mixing softer shades by blending in a little white (hello cozy pastel vibes).
- ✓ Varying brush strokes — some smooth, some dabbed for texture.
At one point, I had a half-painted canvas, three open paint jars, and a chai getting cold beside me… and honestly?
Messy-hair, paint-on-my-sleeve, humming-to-myself happy.
That’s the magic of a DIY canvas art project — it sneaks up and makes you feel like an artist when you’re least expecting it.
4. Let Your Masking Tape Art Dry
This part takes patience — but it’s so worth it.
After finishing my painting, I set my canvas near the window, made another cup of chai, and flipped through a home decor magazine while it dried. (Pro tip: distract yourself!)
Quick drying checklist:
- ✓ Watch for thick spots — they’ll need extra time.
- ✓ Check the tape edges — those corners stay sticky a little longer.
- ✓ Use a fan across the room if you’re feeling impatient.
Depending on your paint thickness, drying can take 30 minutes to a few hours. But trust me: the slower you go, the sharper your lines.
5. Peel Off the Tape Slowly (Best Part!)

Once dry, it’s time for the absolute highlight of this whole DIY canvas painting project.
Start at one edge, pull the tape back low and slow, and watch your clean lines magically appear.
What made the peel even better:
- ✓ Peel toward yourself for best control.
- ✓ Go slow and savor it — it’s seriously so satisfying.
- ✓ Celebrate every perfect little triangle that pops out!
If a little paint bled underneath? No biggie. That handmade charm makes your DIY abstract canvas art feel even more special.
By the time I peeled off the last strip, the sunlight hit the canvas just right — and it literally glowed.
(Or maybe that was just me glowing with pride.)
Optional: Seal It for the Perfect Finish
If you want to really level up your masking tape canvas art, consider sealing it.
After admiring my finished piece for a solid 10 minutes (not sorry), I grabbed a wide, soft brush and applied a thin coat of matte varnish across the whole canvas.
Why I love sealing it:
- ✓ It evens out the texture and smooths any rough spots.
- ✓ It protects your colors from sunlight fading over time.
- ✓ It gives the canvas that subtle “boutique gallery” finish.
Pro Tip:
If you spot tiny bubbles while brushing, lightly go over them again — they’ll disappear as the varnish settles.
Sealing isn’t required, but honestly? It felt like the perfect cherry on top of this cozy DIY afternoon.
Cute Masking Tape Canvas Art Ideas to Try Next
If you’re already itching to tape up a second blank canvas (I get it!), here are a few DIY masking tape painting ideas to play with:
- ✓ Abstract color blocks with cozy pastels
- ✓ Bold black and gold geometric art
- ✓ Calm sunset ombré fades — dusty pink to burnt orange
- ✓ Playful rainbows for kids’ rooms
- ✓ Moody layered blues for a modern coastal vibe
Seriously, once you start, it’s hard to stop. I already have a second canvas drying next to a crate of spring decorations!
A Few Tips From Me
- Use good quality painter’s tape for sharp lines.
- Press down tape edges firmly (I used a gift card and a scissor handle!).
- Pick paint colors that make you happy — not just what’s trendy.
- Embrace the imperfect spots — they make your canvas art feel alive.
FAQs About Making DIY Masking Tape Canvas Art
Can I use watercolor instead of acrylic?
Tried it — messy disaster. Acrylics are way better because they’re thicker and don’t seep under the tape.
What’s the best tape for clean lines?
Blue painter’s tape or FrogTape are magic. Cheap masking tape… not so much.
What if paint bleeds under the tape?
It happens! Grab a tiny brush for quick touch-ups — honestly, nobody will notice but you.
Is this project kid-friendly?
Totally! Just swap in washable paints and oversized tees for your little artists.
Wrapping It Up (With Paint on My Elbow)
If you’ve been craving an easy DIY canvas painting project that makes your home feel more like you — this is it.
Low-stress. High-reward. Maximum cozy.
And every time someone asks where you got your new art?
You get to smile and say, “Oh, I made it.”
(While beaming like the proud creative genius you are.)
This website contains affiliate links. As an Amazon affiliate, I earn from qualifying purchases (What’s This?).