This website contains affiliate links. As an Amazon affiliate, I earn from qualifying purchases (What’s This?).
A walk-in pantry can transform your kitchen into a more organized and efficient space. A well-designed pantry not only maximizes storage, but also reduces clutter in your kitchen. It offers a convenient place to keep all your essentials neatly arranged and easy to find.
I love the idea of creating a pantry that combines both style and function. With the right tips and designs, I can turn this often-overlooked space into a key part of my kitchen. From choosing the right shelving to incorporating clever storage solutions, there are many ways to make my walk-in pantry a highlight of my home.
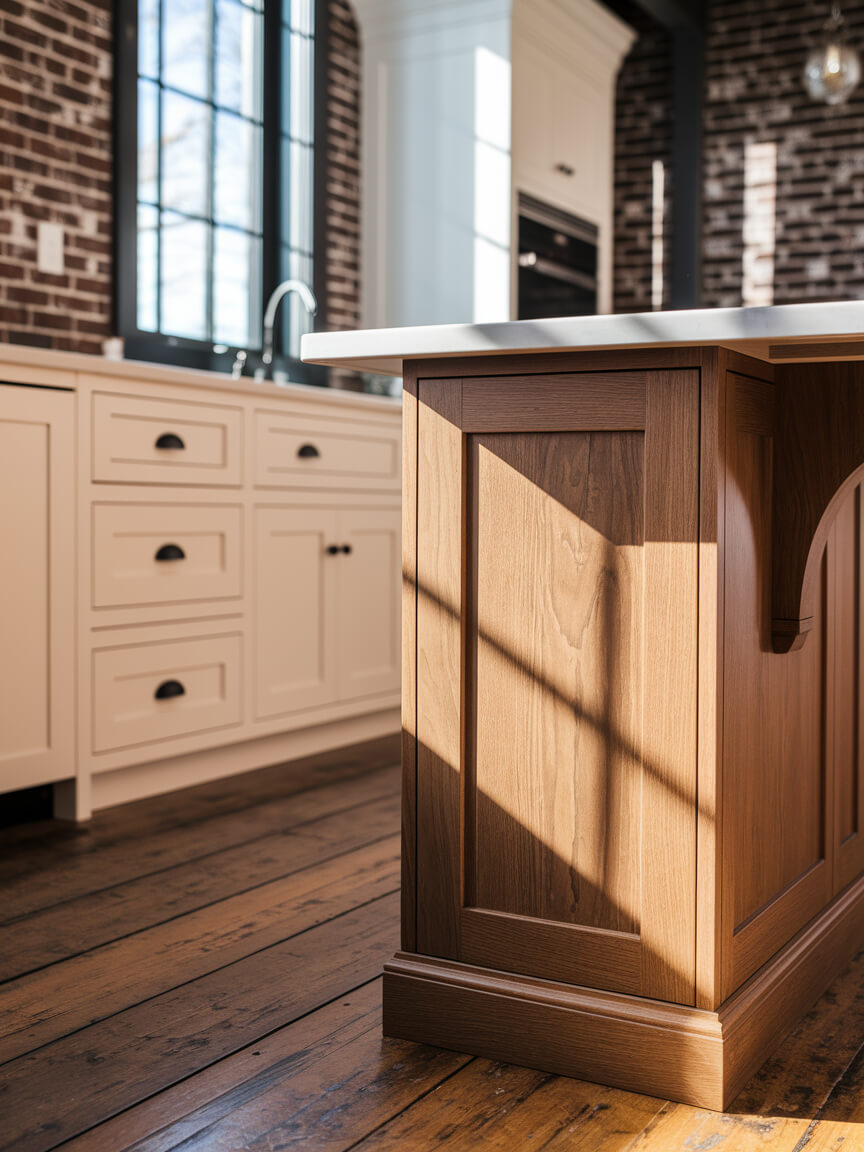
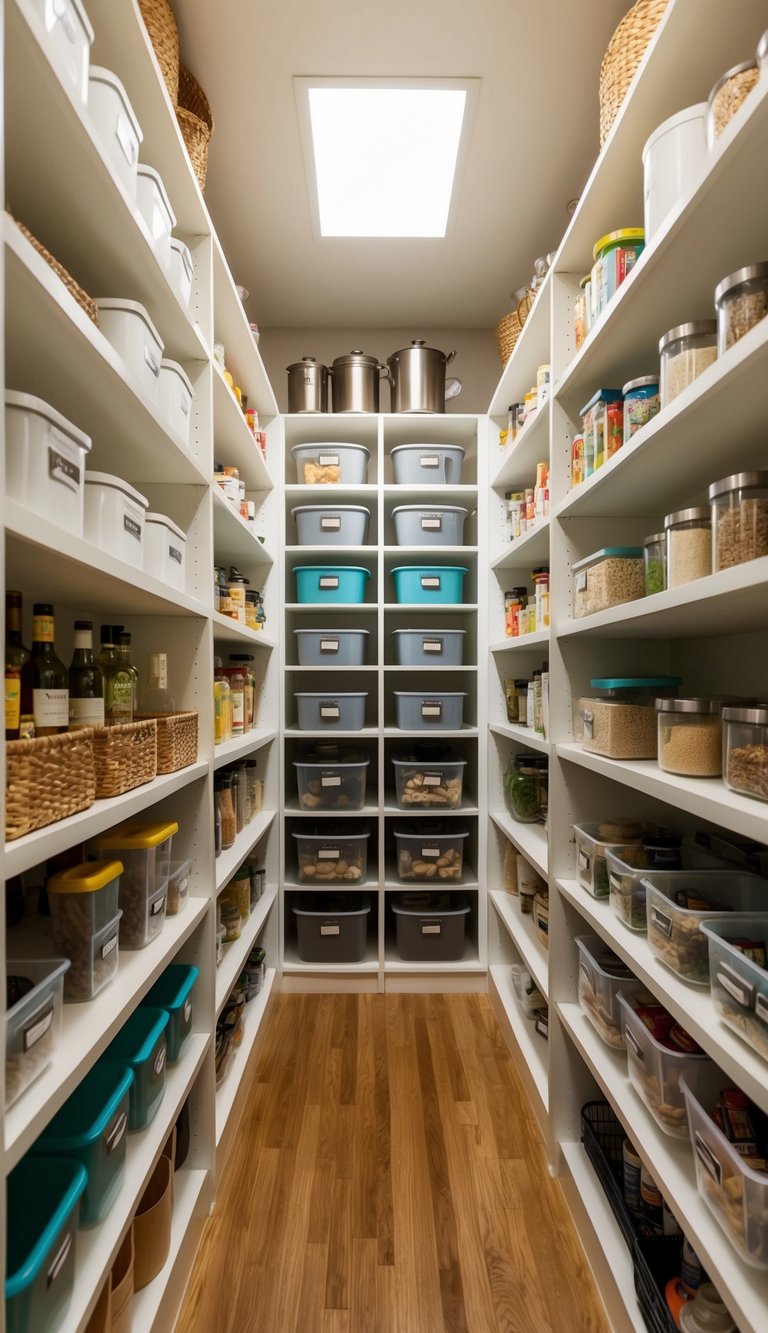
1. Install Adjustable Shelving for Custom Storage
Installing adjustable shelving in my walk-in pantry was a game changer for organizing my kitchen. It allows me to change the height of the shelves based on what I need to store. This flexibility makes it easy to fit various items, from large containers to small spice jars.
To get started, I measured the space in my pantry. I took note of the items I wanted to store to plan how many shelves I would need and their height. I chose adjustable shelving units that included brackets and supports for easy setup.
Picture this: I can rearrange my shelves anytime I want. If I buy larger boxes of pasta or new containers, I simply adjust the shelves to accommodate them. This feature keeps everything tidy and within reach.
When installing, make sure to use a level to ensure the shelves are straight. Secure each bracket into the wall with proper anchors to ensure they are sturdy. Also, space the shelves evenly to maximize storage.
A tip I found helpful is to group similar items together. For instance, I place snacks on one shelf and canned goods on another. This makes it easy to find what I need and keeps things from getting cluttered.
I also like to use clear bins on the shelves. These bins help keep smaller items organized. I label each bin for quick access, so I always know where everything goes.
Adjustable shelving is a smart solution for anyone looking to create an organized pantry. It truly transforms how I utilize my kitchen space.
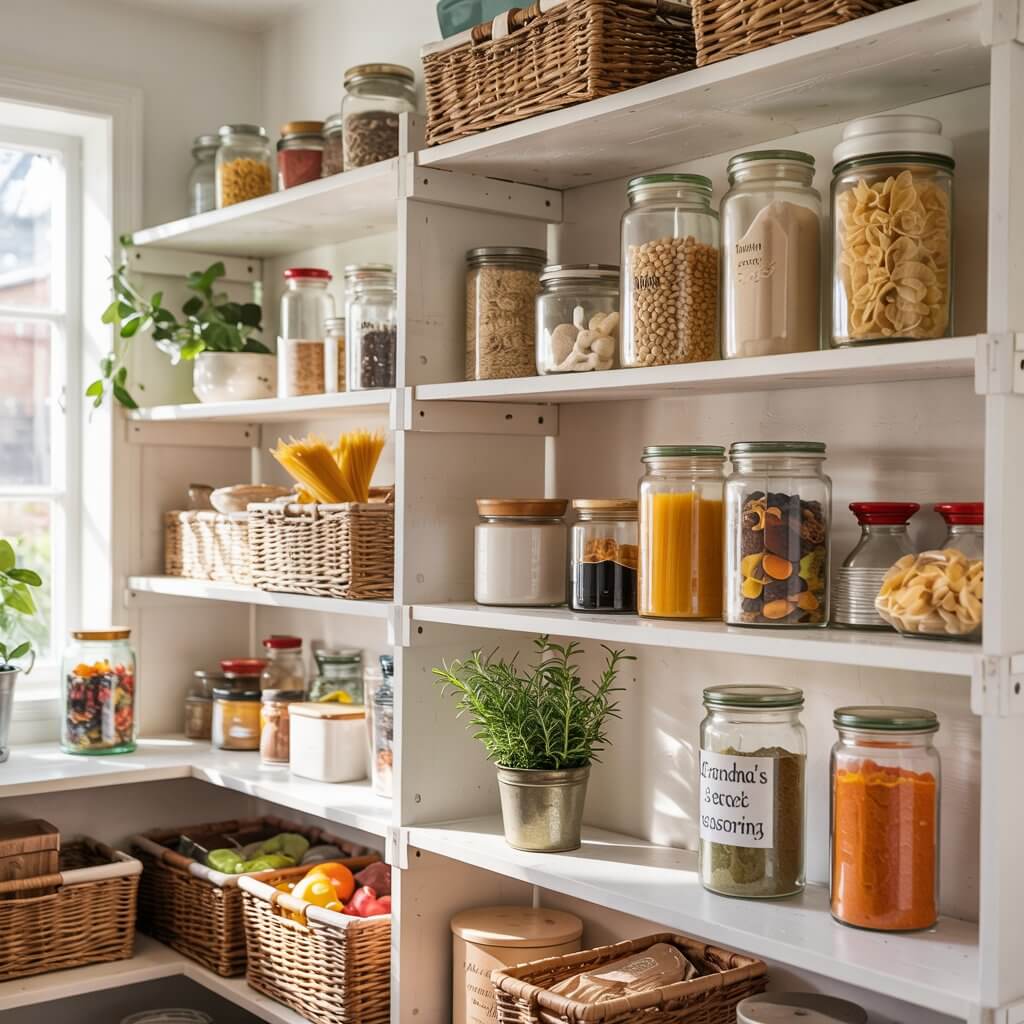
2. Use Clear Airtight Jars for Visibility

Using clear airtight jars can transform how I store food in my walk-in pantry. These jars keep items fresh while making it easy to see what’s inside. It helps me avoid buying duplicates and makes my pantry look organized.
To start, I select jars in various sizes to fit different items. I like using larger jars for grains like rice and smaller ones for spices or snacks. This mix keeps everything organized but still accessible.
When I fill the jars, I make sure to label them clearly. I use a simple label maker or even write on decorative labels. This way, I can quickly find what I need without digging through containers.
Picture this: I open my pantry door and see rows of clear jars filled with colorful ingredients. The sight of neatly organized food inspires me to cook healthy meals. Plus, it adds a modern touch to my kitchen.
To keep things fresh, I choose airtight options for items like flour and sugar. They protect my food from moisture and pests. This tip has saved me from tossing out stale ingredients.
I also recommend grouping similar items together. For example, I store all my baking supplies in one area. This makes it simple to grab everything I need when I’m baking.
Incorporating clear airtight jars not only keeps my pantry tidy but also helps me stay organized. It’s a practical solution that can make a difference in any kitchen.
3. Incorporate Vertical Built-In Bookshelves

I love using vertical built-in bookshelves in my walk-in pantry. They help maximize space while keeping everything organized and easy to find.
Picture this: a tall, narrow bookshelf built into one wall of your pantry. It adds style and function. You can store jars, cookbooks, or small appliances neatly on the shelves.
To create this look, I measure the wall space first. This helps me decide how tall and wide the shelves can be. I make sure there’s enough room for my items without overcrowding.
I also recommend using clear, airtight jars. They not only keep food fresh but also look great on the shelves. You can easily see what’s inside without opening them.
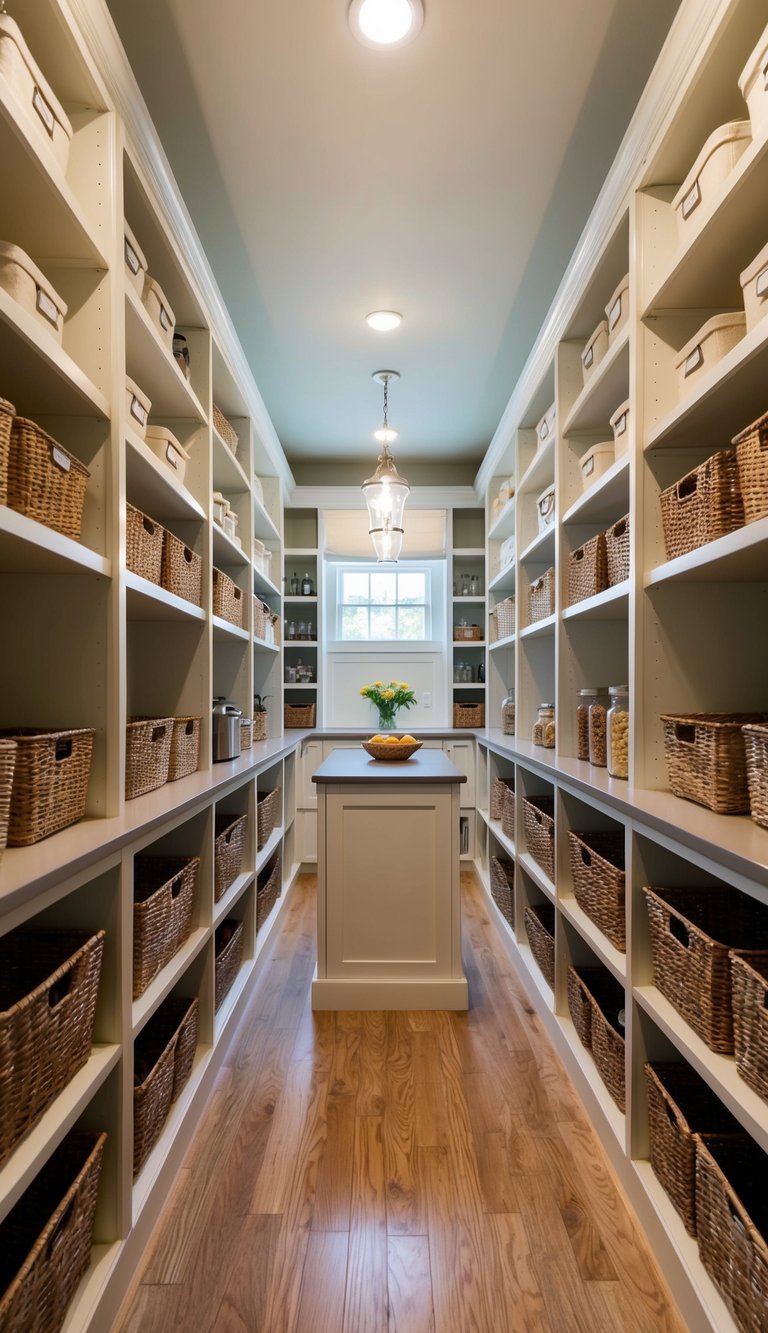
Another tip is to mix in some baskets. Baskets can hold smaller items and add texture to the display. Choose ones that match your pantry’s color scheme for a cohesive look.
Finally, label everything! I use simple labels for my jars and baskets. This way, I can grab what I need quickly, and it keeps my pantry tidy.
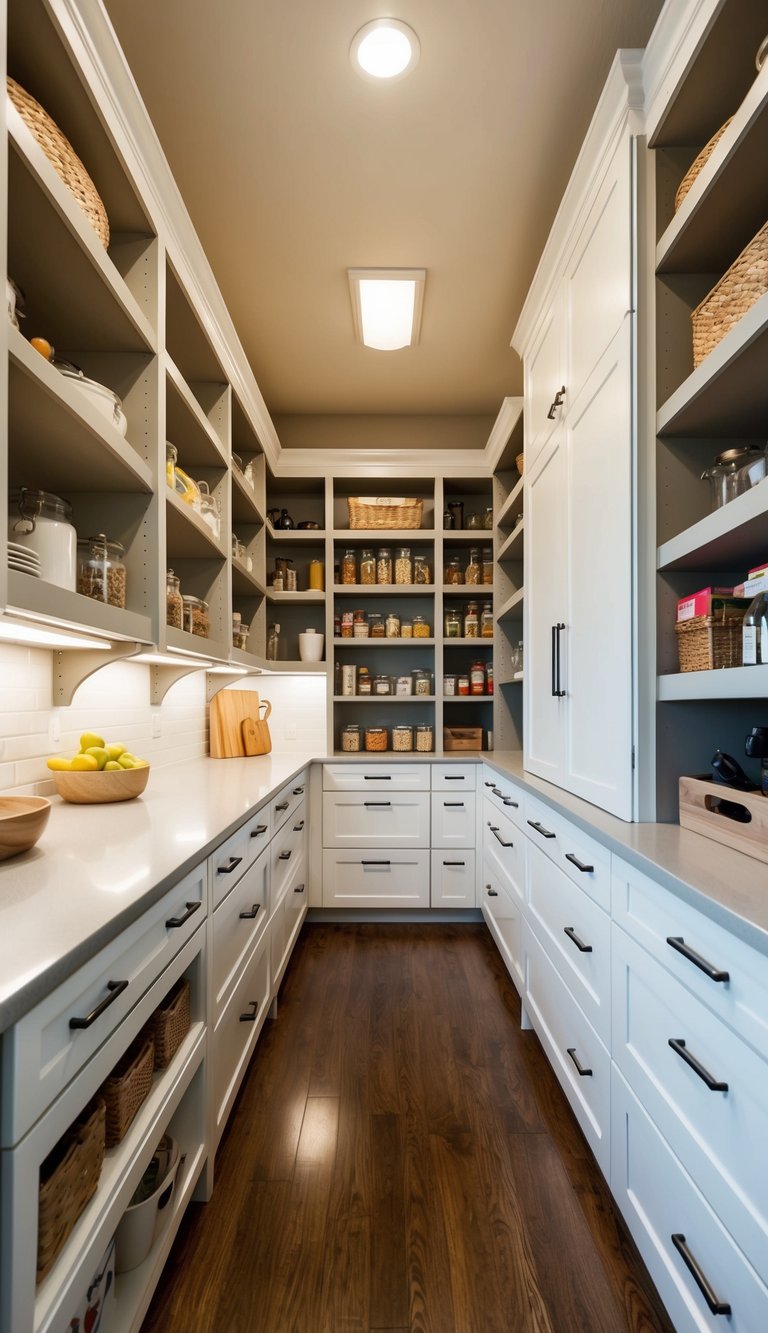
4. Maximize Corners with L-Shaped Shelving
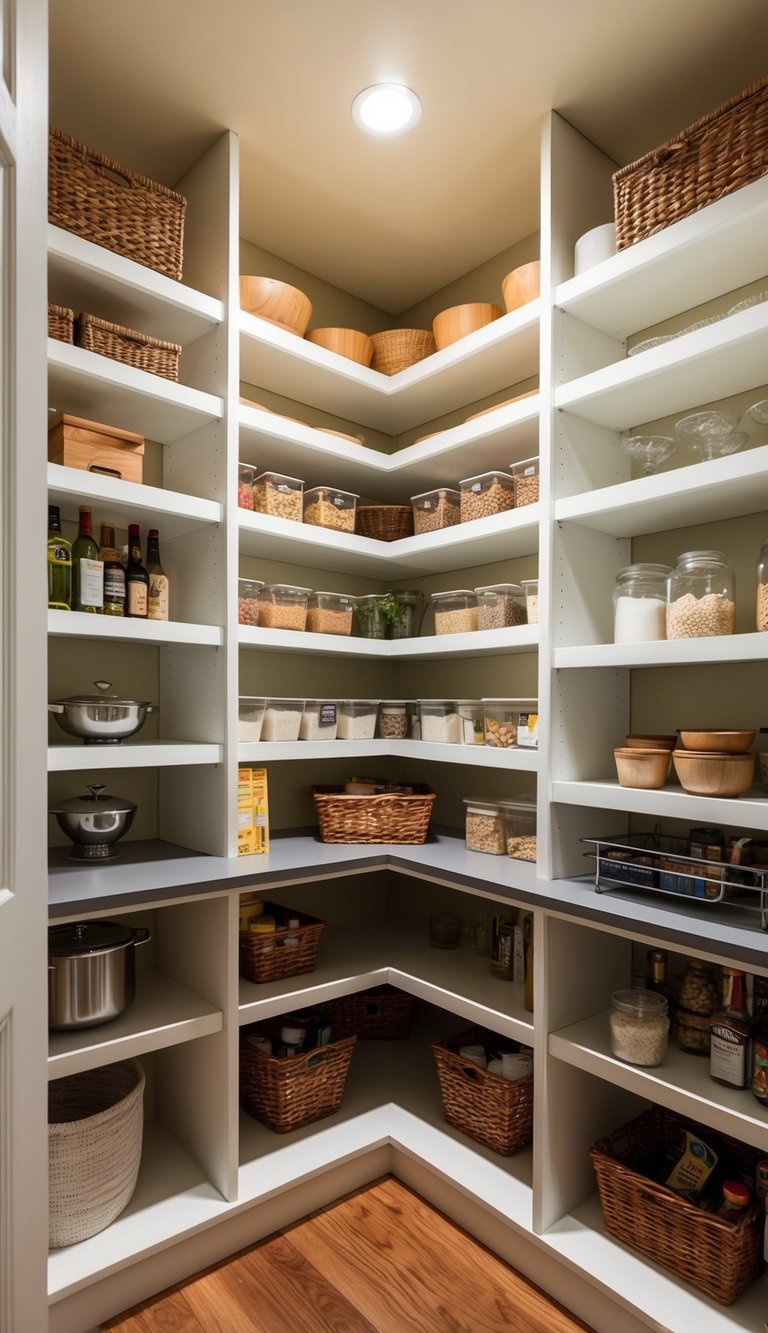
I love the idea of using L-shaped shelving in my pantry. It cleverly uses corner space that often goes unused. This design makes items easy to reach and keeps everything organized.
To start, I measure the corner area in my kitchen. Knowing the dimensions helps me choose the right shelving units. I look for adjustable shelves, which can fit items of all sizes.
Picture this: I open my pantry door and see neatly arranged shelves that wrap around the corner. The space feels open and accessible. I can quickly grab what I need without any clutter.
When choosing shelves, consider materials that match my kitchen decor. Wood adds warmth, while metal gives a modern touch. I prefer finishes that are easy to clean, which is a bonus!
I also find it helpful to group similar items together. Canned goods can go on one shelf, while snacks can be on another. Labeling containers makes finding things even easier.
For extra storage, I add hooks on the side of the shelving. They are perfect for hanging utensils or small bags. This small detail really helps keep everything tidy.
Sometimes, I add baskets on the lower shelves. They hold items like potatoes or onions that don’t need to be on display. This keeps the pantry looking neat while using every bit of space.
With the right arrangement, my pantry feels larger, even with the L-shaped design. The corner shelving is not just functional; it also looks great. So, I enjoy cooking in a more organized, stylish kitchen.
5. Add Pull-Out Baskets for Easy Access

Adding pull-out baskets in your walk-in pantry can make a huge difference in keeping things organized. These baskets make it easier to reach items without digging through piles.
Picture this: you open the pantry door, and instead of rummaging around, you simply pull out a basket. It’s a quick way to grab snacks or ingredients.
To install pull-out baskets, start by measuring your pantry space. Make sure to choose baskets that fit well. I like to use wire or wicker baskets for a stylish look.
Next, attach slide-out rails at the desired height inside the pantry. These rails will allow the baskets to glide in and out easily.
When loading the baskets, group similar items together. For example, keep all snacks in one basket and canned goods in another. This way, I can find what I need fast.
Finally, label each basket for even easier access. A simple label helps everyone in the house know where to find things. This small addition really helps keep my pantry clutter-free!
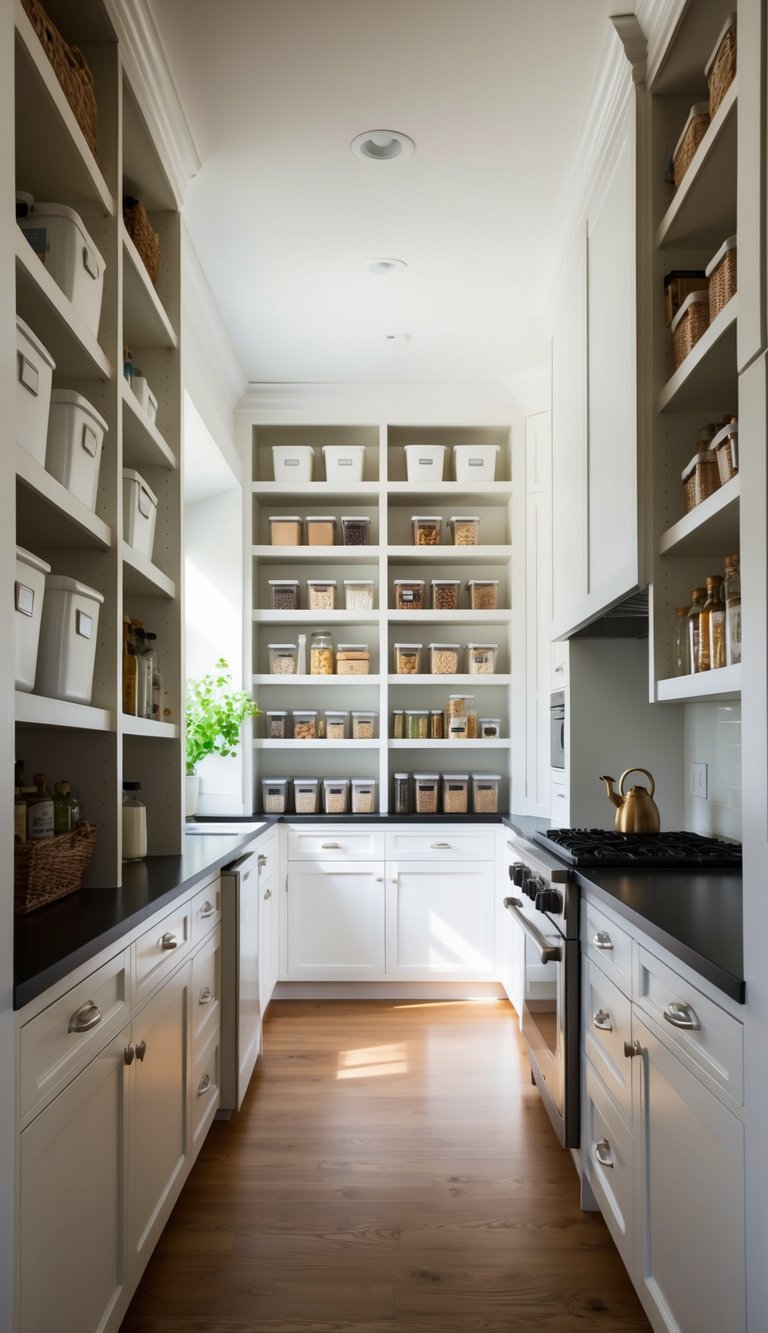
6. Opt for Light Colors to Brighten the Space

Choosing light colors for your walk-in pantry can create a bright and welcoming feel. Lighter shades reflect more light, making the space feel larger and more open.
Picture this: you step into your pantry and it feels airy. Soft whites or light pastels on the walls and shelves can lift your mood instantly.
When selecting colors, consider shades like soft beige, light gray, or pale blue. These colors work well with various styles and help keep the focus on your pantry items.
To enhance the illumination, I suggest painting the ceiling a light color too. This can make the room feel even taller, which is perfect for a walk-in pantry.
How-to tip: Start with a sample of your chosen paint color. Apply it on a small wall section to see how it looks at different times of the day.
Adding light-colored shelving can also boost the brightness. White or light wood shelves can showcase your pantry items while keeping the space organized.
Make sure to incorporate task lighting, too. Under-shelf lights can brighten even the darkest corners, making it easy to find what you need.
As you plan your colors, think about decluttering. A tidy pantry with light colors can make organizing easier. You can group items by type and use clear containers for snacks and dry goods.
This not only looks great but also helps you see everything at a glance. With an organized pantry, cooking and meal prep become more enjoyable!
7. Include a Chalkboard for Grocery Lists

Adding a chalkboard to your pantry is a simple way to stay organized. I love using a chalkboard for writing down grocery lists. It helps me keep track of what I need without cluttering my counter with paper.
To set up a chalkboard, choose a wall or door in your pantry. If you don’t have a chalkboard, you can use chalkboard paint on any surface. Just make sure the area is clean and dry before applying the paint.
Picture this: You walk into your pantry and see a neat chalkboard with all your grocery needs listed. It saves time when I’m planning meals for the week. I can quickly add items as I run out or think of new recipes.
When I use my chalkboard, I try to divide the list into categories like fruits, vegetables, and snacks. This way, it’s easier to navigate the grocery store. I find it helpful to keep a piece of chalk nearby so I can write or erase as needed.
Make it fun by adding drawings or colors to make your list stand out. This can break up the text and make it visually appealing. It also turns shopping into a creative task, which I enjoy.
Finally, remember to clean the chalkboard regularly. Dust or leftover chalk can make it hard to read your list. With these tips, your chalkboard will be a great tool for staying on top of your grocery needs.
8. Utilize Overhead Cabinets for Extra Storage
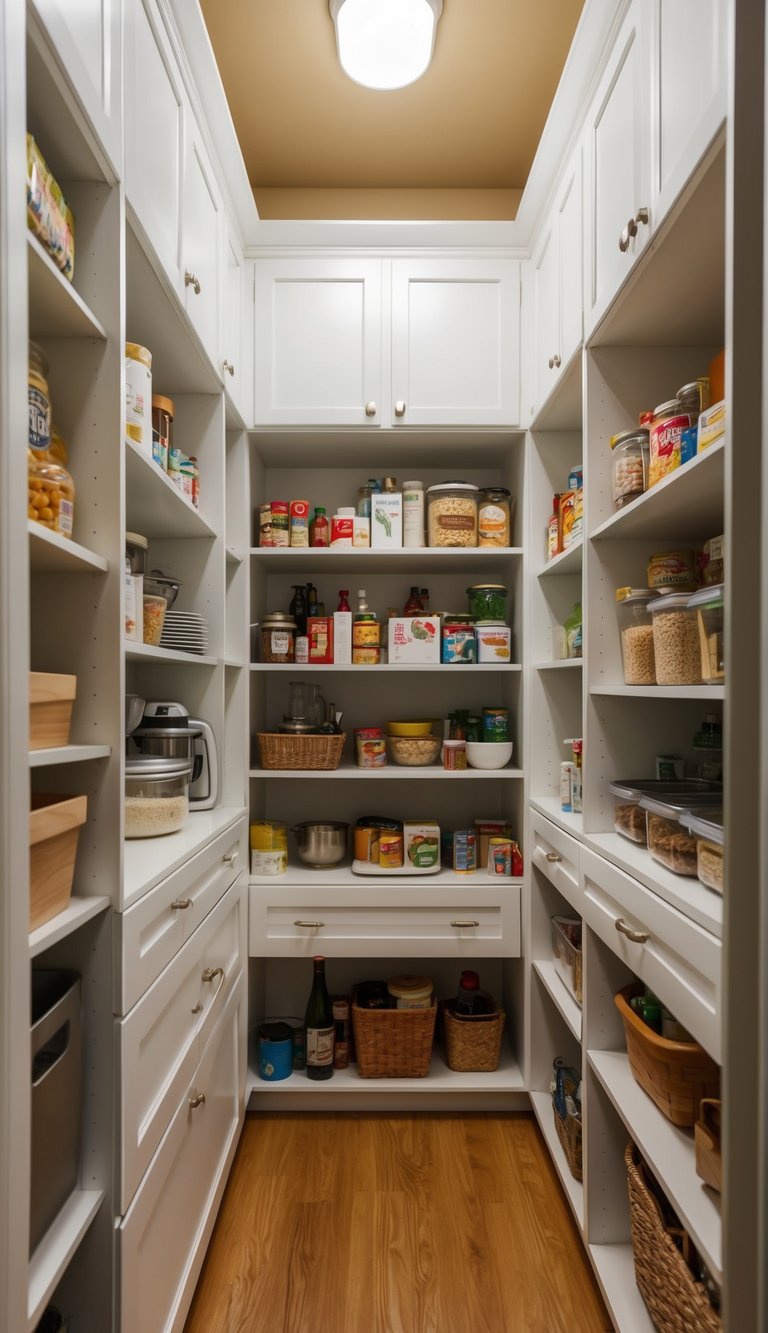
When I think about maximizing my kitchen space, overhead cabinets always come to mind. They can really help clear up clutter and store items out of the way. Using this area wisely can make a big difference in organization.
To get started, I first assess what I need to store. Items used less frequently are great candidates for overhead cabinets. Think about seasonal dishes or special kitchen appliances.
Next, I measure the space above my countertops. This helps me decide how big my cabinets should be. I prefer cabinets that go all the way to the ceiling. This not only looks great but also maximizes every inch of space.
Now, picture this: a tall cabinet filled with beautiful dishes or jars of ingredients. Stacking items neatly can free up lower shelves for daily use. I use bins or baskets to group smaller items together, making them easy to access.
If you have a step stool handy, use it. This way, I can easily reach items stored high. I also label bins or shelves to remind me where everything goes. This keeps my overhead cabinets neat and tidy.
I like to keep my most-used items closer to eye level. That way, I can grab them without climbing. Seasonal and special items can go higher up, where I don’t need them often.
Remember to rotate items as needed. When I use something, I’ll make a point to put it back in the same spot. This keeps the area organized and easy to maintain.
Utilizing overhead cabinets not only creates extra storage but adds style too. I often choose glass-front cabinets to show off my favorite dishes. It adds a personal touch and can brighten up the kitchen.
9. Integrate a Wine Rack for Special Occasions
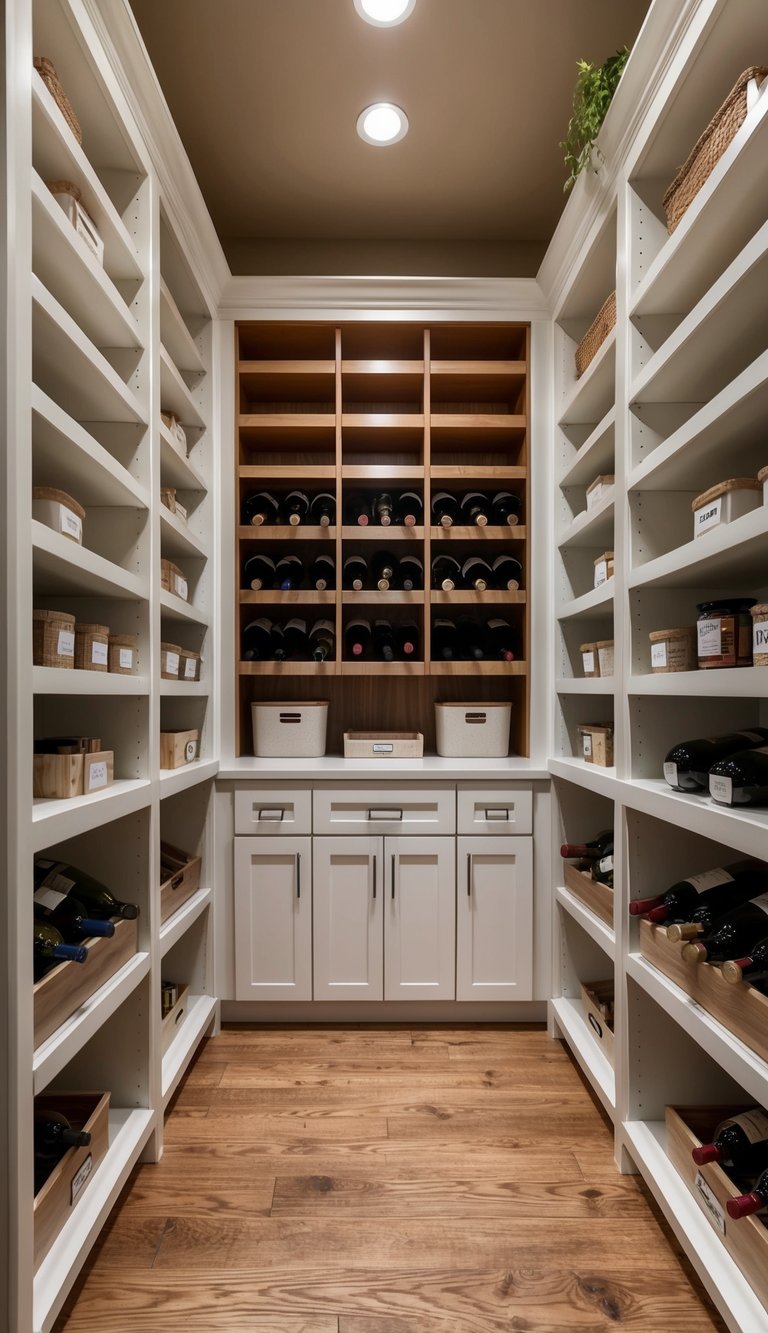
Adding a wine rack to my walk-in pantry can create a nice space for special beverages. I love how it not only organizes my wine collection but also adds a decorative touch.
When choosing a wine rack, I look for one that fits my pantry size. I prefer racks that hold both bottles and glasses to maximize space. Some racks even come with shelves for snacks or tools.
Picture this: I can see the wine bottles lined up neatly, labeled for easy access. It’s a great way to impress guests during gatherings.
To install the wine rack, I first measure the area where I want it. I make sure there’s enough room to open the bottles without any hassle. Using brackets, I securely mount the rack to the wall or add a free-standing model that fits nicely.
I also like to keep a small collection of elegant glasses on the rack. This way, everything is in one place when I’m ready to entertain.
For easy access, I group wines by type. I can have a section for reds, whites, and sparkling wines. This organization makes it simple when I’m looking for the perfect wine to serve.
To keep everything looking nice, I avoid placing the wine rack in direct sunlight. This helps maintain the quality of the wine.
Finally, I occasionally replace older bottles to ensure I have fresh options ready for celebrations or dinner parties. It’s such a fun way to keep my pantry looking stylish while being practical!
10. Install Task Lighting for Better Visibility
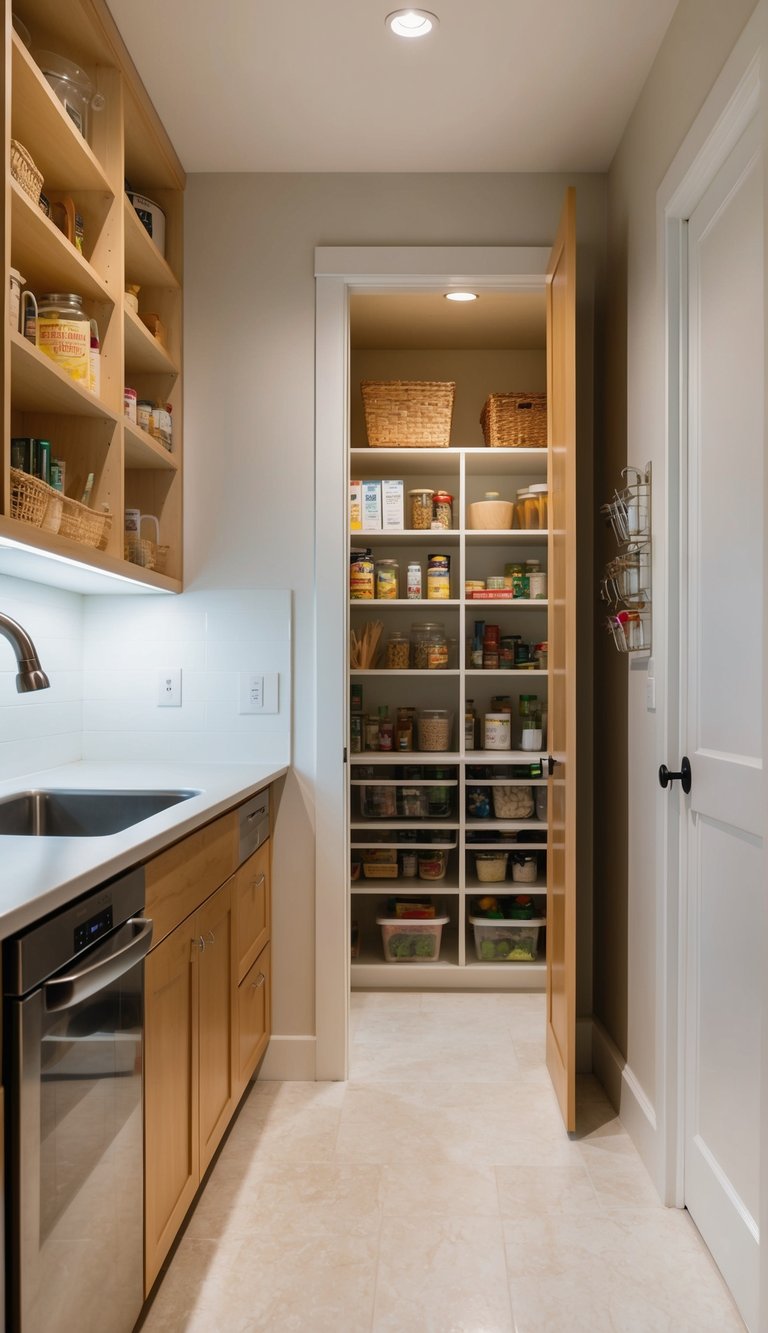
Good lighting can make a big difference in a walk-in pantry. I like to use task lighting to ensure every shelf is bright and usable. This way, I can easily find what I need.
To start, I recommend using LED lights. They are energy-efficient and come in bright white, which helps illuminate the space. You can install under-shelf lighting or even motion-activated lights for added convenience.
Picture this: you open your pantry door, and the lights turn on automatically. No more fumbling around in the dark! This setup can save time and reduce frustration when reaching for ingredients.
Consider using sticky tape or adhesive clips to secure LED strips under shelves. It’s easy to install and doesn’t require any tools. Just measure the shelf length, cut the strip to size, and stick it on.
For a more polished look, I sometimes use small puck lights. These can be attached anywhere and provide focused light on specific areas. I often place them above my spice rack to shine directly down.
Another tip is to use a small, battery-powered light if you don’t want to run wires. These lights are portable and come in various designs to fit your pantry’s style.
When choosing the lights, think about the layout of your pantry. I like to position lights where I store the most items. This can make it easier to find what I’m looking for.
With effective task lighting, I can see every jar and box clearly. It helps keep my pantry looking neat and organized. Plus, I feel happier when I can see what I have.
Benefits of a Walk-In Pantry
Having a walk-in pantry can greatly enhance my kitchen experience. It not only provides ample storage but also helps me keep things organized and visually appealing. Below, I’ll explore the key benefits of having one in my home.
Maximizing Storage Space
A walk-in pantry is a game changer for storage. It allows me to make the most of my kitchen space by offering shelves that can be customized to my needs.
Picture this: I can store everything from canned goods to large bulk items without cramming them into tiny cabinets.
To maximize storage, I recommend using adjustable shelving. This way, I can change the height based on what I need to store. Deeper shelves can hold larger items, while smaller, shallower shelves can keep everyday items easily reachable.
Tip: Using clear bins can help me categorize my items. Labeling these bins allows for quick identification, which cuts down on searching for what I need.
Enhancing Kitchen Organization
With a walk-in pantry, keeping my kitchen organized becomes much easier. I can designate certain areas for specific items, such as snacks, baking supplies, and spices.
How-to: I like to create a zone for frequently used items near the entrance of the pantry. This improves accessibility and saves time during meal prep.
Picture this: I can open the pantry door and instantly see everything at a glance. No more rummaging through crowded cabinets!
Using tiered organizers for spices and canned goods can help me make the most of vertical space. This setup prevents items from going unnoticed in the back of the pantry.
Tip: I often donate items close to their expiration date, keeping my pantry clutter-free and ensuring that I use what I have.
Improving Kitchen Aesthetics
A walk-in pantry not only serves a practical purpose but also boosts the overall look of my kitchen. I can design this space to blend seamlessly with my kitchen style.
How-to: I enjoy adding personal touches, like decorative containers and stylish labels. This makes the pantry feel more like a part of my beloved kitchen.
Picture this: Every time I open the pantry, I’m greeted by a stylish yet functional space.
I can also use color-coordinated bins and storage jars to create a cohesive look. Simple changes, like adding soft lighting, can enhance the ambiance, making my pantry a pleasing part of my kitchen design.
Tip: Regularly evaluating what I store reduces clutter, keeping my pantry looking fresh and organized.
Design Tips for an Ideal Walk-In Pantry
Creating an ideal walk-in pantry involves organizing efficiently and maximizing available space. By focusing on vertical space usage and choosing the right shelving, I can create a more functional and visually appealing pantry that keeps everything easy to access.
Utilizing Vertical Space
I love taking advantage of vertical space to optimize my pantry. This approach not only clears up floor space but also makes items easier to reach.
How-to: Start by installing shelves that reach up to the ceiling. Use adjustable shelving systems to customize the height based on the items I store. I find using narrow shelves great for small jars and spices, while deeper shelves work for bulk items.
Picture this: Imagine spotting your favorite spices at eye level or easily retrieving that big bag of flour from a higher shelf without any hassle.
Tip: Consider adding hooks on the inside of the pantry door for hanging tools like measuring cups or aprons. This frees up even more space and keeps essentials handy when I need them.
Choosing the Right Shelving
Selecting the right shelving is crucial for a well-organized pantry. It can make a big difference in keeping everything tidy.
How-to: You should evaluate the types of items you store. For heavier items, opt for sturdy wooden or metal shelves that can hold more weight. For lighter items, use wire shelves to allow better airflow and visibility.
Picture this: You can easily see all your canned goods organized on a bright, open shelf, rather than digging through a pile.
Tip: Clear storage bins help keep similar items together while letting you see what you have. Labeling these bins makes it even easier to stay organized and quickly find what you’re looking for.
This website contains affiliate links. As an Amazon affiliate, I earn from qualifying purchases (What’s This?).